Greg Rutolo | Loan Officer | NMLS# 34860
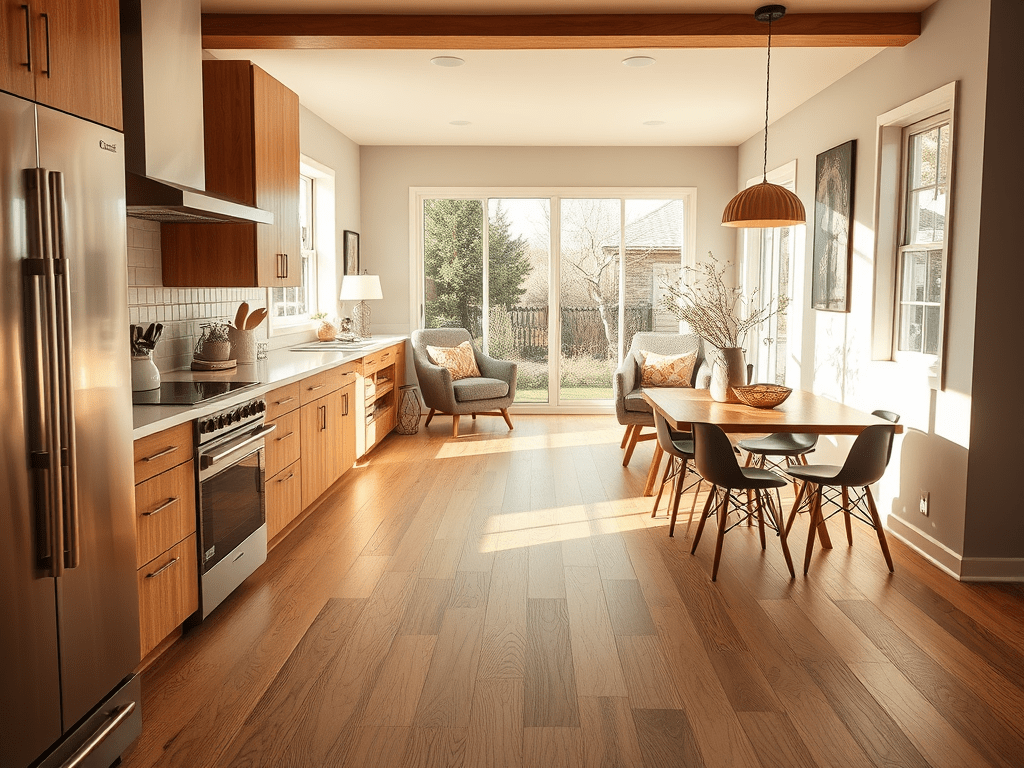
Are Hardwood Floors a Good Idea in the Kitchen?
Hardwood floors can absolutely work in a kitchen if you combine the right material with the right habits. The big trade‑off is simple: beauty and warmth vs. moisture and wear.
Best types of “hardwood” for kitchens
- Engineered hardwood is often the better choice than solid hardwood in kitchens. Its layered construction makes it more stable to better deal with humidity and temperature swings.
- Engineered hardwood isn’t waterproof. However, it’s less likely to cup or warp than traditional solid boards when life happens (spills, steam, seasonal changes).
- Solid hardwood is suitable for kitchens if you maintain good climate control. Having quick spill cleanup habits is also essential. Use strategic rugs in splash zones for additional protection.
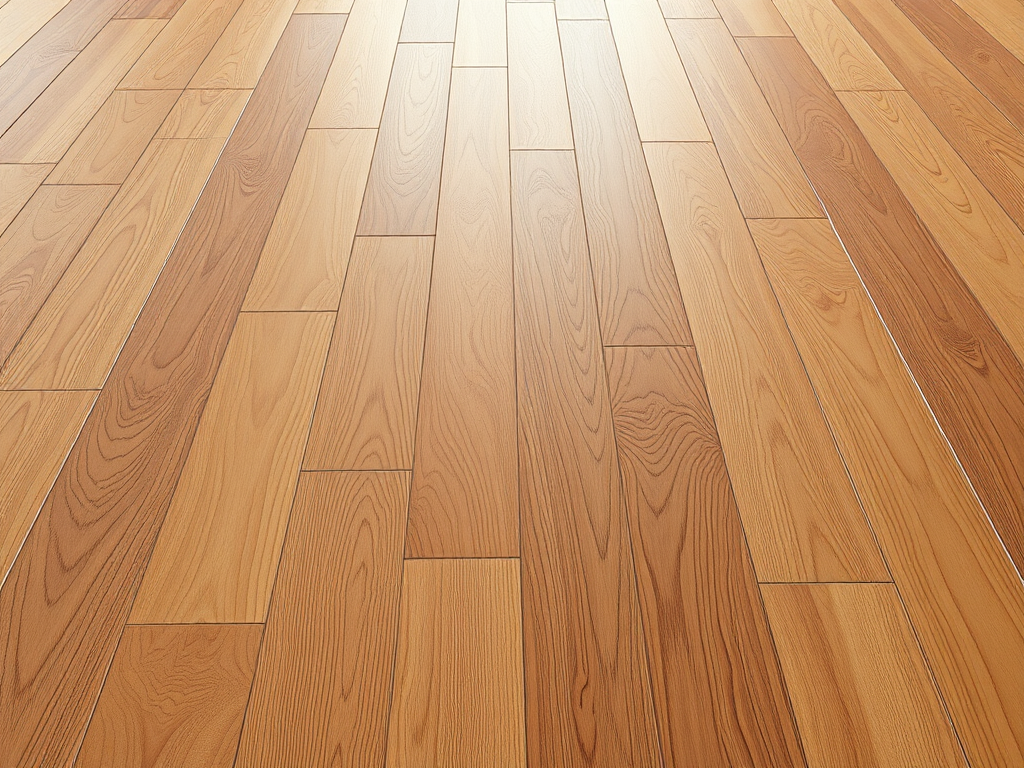
Top wood species for kitchen floors
- White oak: Durable, relatively water‑resistant for wood, and very popular in modern kitchens.
- Maple: Hard, clean‑grained, and light in color. It is great for a sleek look. But, it can show scratches more easily because of its uniform surface.
- Hickory: One of the hardest common domestic species, great for active households that are hard on floors.
If you want that classic, warm, continuous wood look from your living area into the kitchen, consider engineered white oak. Maple is also a strong, real‑wood choice. If you want zero‑stress maintenance, wood‑look luxury vinyl plank or porcelain “wood” tile are worth considering as alternatives.
Hard Maple vs Soft Maple: Which Is Better for Flooring?
If you’re drawn to maple floors, you’ll quickly run into two terms: hard maple and soft maple. They’re both real hardwoods, but they are not created equal when it comes to floors.
What’s the difference?
- Hard maple usually refers to sugar maple/rock maple. It’s dense, strong, and used for gym floors and bowling alleys.
- Soft maple refers to a group of other maples. These include red or silver maple. They are lighter and less dense than hard maple.
Why hardness matters for flooring
- Hard maple is significantly more resistant to dents, chair legs, pet claws, and dropped objects.
- Soft maple is closer in hardness to woods like cherry. It is still usable. Nonetheless, it is more to show wear over time in high‑traffic zones like kitchens.
Bottom line: for kitchen flooring, hard maple is the better choice almost every time. Soft maple is more of a budget or furniture play than a long‑term, high‑traffic flooring solution.
What Is the Janka Hardness Scale for Hardwood Floors?
You’ll see numbers attached to wood species—1,450, 1,260, 3,000—and they all come from the Janka hardness scale.
What the Janka scale measures
The Janka hardness test determines the force required to press a steel ball halfway into a piece of wood. The result is a number (often in pounds‑force, or lbf). The higher the number, the harder—and more dent‑resistant—the wood.
Common Janka benchmarks
- Red oak: around 1,260 lbf, considered the “baseline” medium‑hard flooring species.
- Hard maple: around 1,450 lbf, harder than red oak and better at resisting dents.
- Some exotics and very hard domestics can reach 2,000–3,000+ lbf.
When you’re choosing kitchen hardwood, the Janka rating is a useful way to compare durability between species. In most homes, anything at or above red oak’s hardness is perfectly fine. Harder species give you more margin for kids, pets, and heavy use.
How to Maintain Hardwood Floors (Every Room)
The secret to long‑lasting hardwood is consistency, not complicated routines.
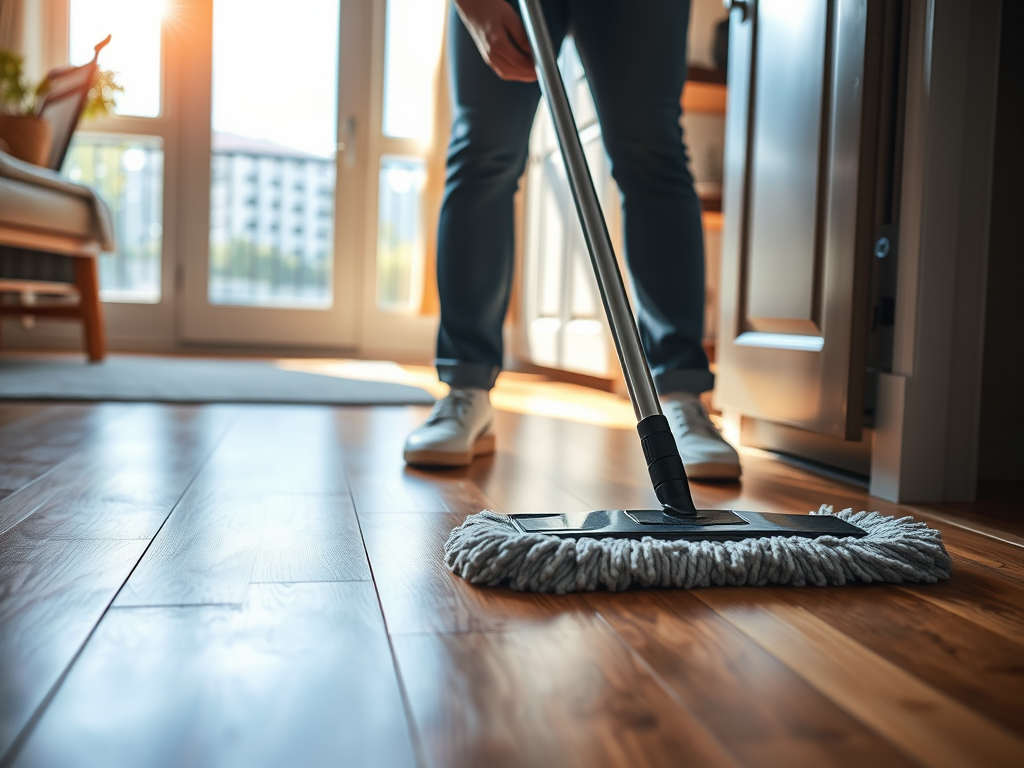
Daily and weekly care
- Dust mop or sweep regularly with a soft broom or microfiber head to remove grit that scratches the finish.
- Vacuum on a hard‑floor setting (no beater bar) to clean between boards and edges.
- Wipe up spills promptly—especially anything dark or sticky that can stain the finish.
The right cleaning products
- Use a pH‑neutral cleaner that’s specifically labeled for hardwood floors or for your floor’s particular finish.
- Lightly mist the cleaner on the floor or on a microfiber pad; avoid soaking the surface.
- Skip vinegar, ammonia, bleach, oil soaps, and “miracle” polishes unless the manufacturer approves their compatibility. These substances can dull, cloud, or damage finishes. They also make future refinishing harder.
Controlling moisture and climate
- Avoid wet mops, bucket‑and‑string mops, and steam mops. These push moisture into seams and can cause cupping or damage.
- Keep indoor humidity in a moderate, stable range with your HVAC, humidifiers, or dehumidifiers. Stable humidity means fewer gaps and less seasonal movement.
Protecting against scratches
- Use felt pads under chairs, stools, tables, and furniture. Replace them when they get worn or dirty.
- Keep pet nails trimmed and watch out for high heels or very hard shoe soles.
- Use doormats at entries and consider runners in hallways to cut down on grit and long‑term wear.
Special Care for Hardwood Floors in the Kitchen
Kitchens are the toughest room in the house for hardwood: water, heat, dropped utensils, food, grease, and constant foot traffic. That just means you need a slightly upgraded care plan.
Water and spill control
- Treat water like the enemy. Wipe up splashes at the sink, stove, dishwasher, and fridge immediately when they happen.
- Periodically check beneath or around appliances for slow leaks or drips from supply lines and filters. The quiet, unnoticed leak is what ruins floors—not the one big spill you see and wipe up.
Rugs, runners, and mats
- Place a rug or runner in front of the sink and dishwasher. You can also place one in front of the stove and fridge, if desired.
- Choose rugs with breathable, non-staining pads underneath. Avoid sticky rubber or PVC backs. These can trap moisture or bond to the finish.
- Wash or clean these rugs often so moisture, crumbs, and grease don’t sit against the wood.
Cleaning in a cooking zone
- Kitchen floors collect more grease and fine debris, so plan on dry dusting more often than in bedrooms or hallways.
- When you damp‑clean, keep moisture to a least and dry the area promptly.
Finish and wear strategy
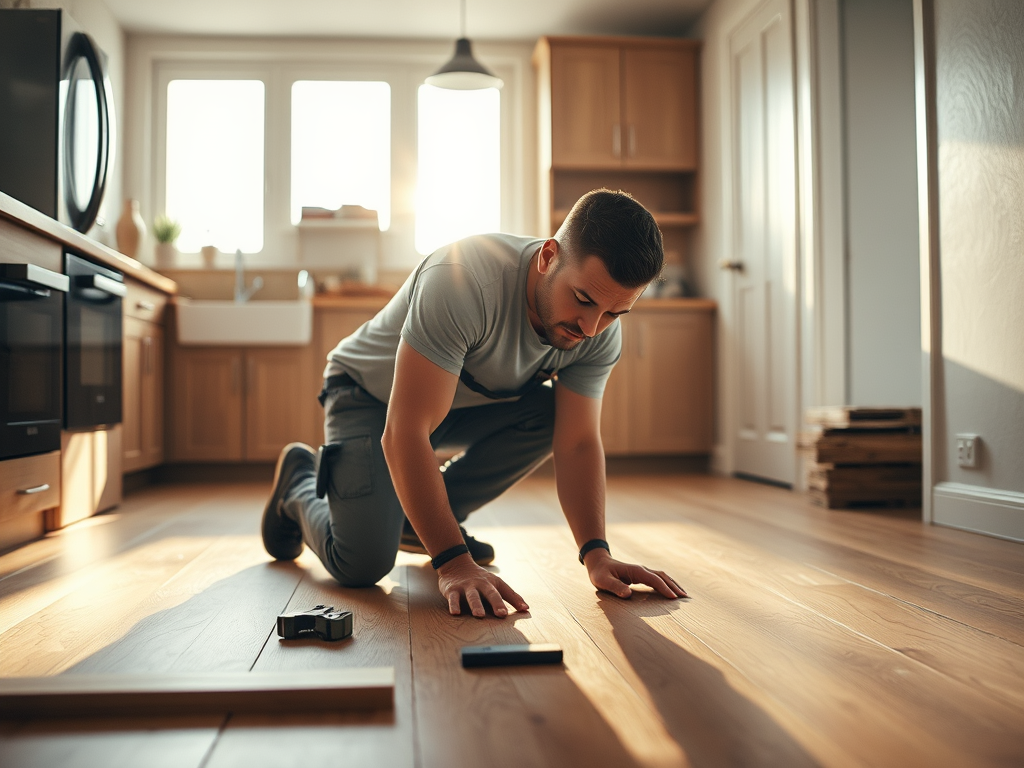
- If you’re installing new floors, consult with your installer. Discuss using a more durable finish system. Consider using extra coats in the kitchen.
- Plan to refresh the finish in the kitchen sooner than the rest of the house. You can choose to either have a professional screen‑and‑coat or a full refinish down the road, depending on wear.
How to Repair Scratches in Hardwood Floors
Scratches are inevitable—but most are fixable or at least able to be hidden. The repair method depends on the depth of scratch.
Light surface scratches
These are marks in the finish only, not into the wood itself.
- Clean the area with a hardwood‑safe cleaner and let it dry completely.
- Use a color‑matched touch‑up marker, blending pencil, or manufacturer‑approved repair kit to tone in the scratch.
- Gently buff with a soft cloth to blend sheen so the repaired spot doesn’t stand out.
Moderate scratches into the wood
If the scratch has gone through the finish and into the wood:
- Clean the scratch and lightly scuff just inside the damaged area with very fine sandpaper to smooth rough edges.
- Fill with a color‑matched wood filler, putty, or wax stick, wiping away the excess while leaving the scratch filled.
- Once dry or hardened, lightly smooth and touch up with matching stain and/or finish if needed.
Deep gouges or widespread damage
- Deep gouges need filling, gluing loose fibers, and full refinishing in that local area.
- Scratches that run across entire boards or large areas are often better handled by a professional. They may replace or recommend a screen‑and‑recoat or full sand and refinish, depending on severity.
Repair rule of thumb
If you can barely feel the scratch with a fingernail, it’s usually a quick DIY touch‑up. If your nail digs in or catches hard, you’re into filler or pro territory.

Leave a comment